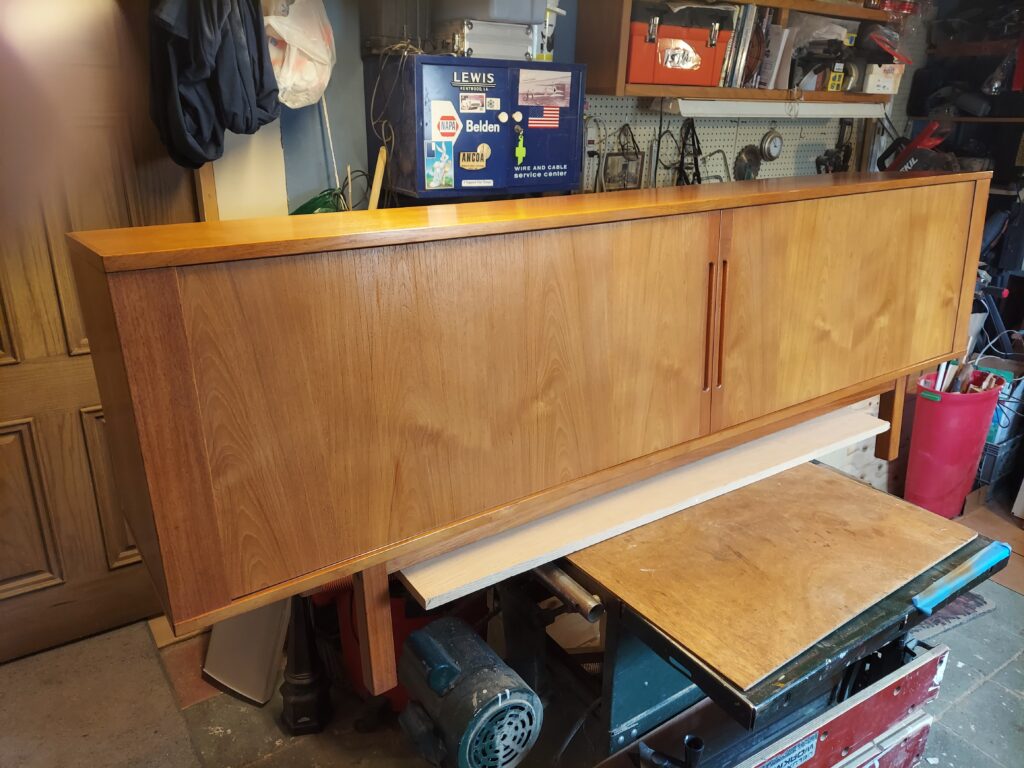
When it comes to bringing out the natural beauty of wood, few finishing techniques are as transformative as using wood dye. Unlike paint, which covers the surface, or pigment-based stains, which settle more on the wood’s pores, dyes penetrate deep into the fibers. This results in rich, vibrant color that enhances rather than hides the grain. Whether you’re restoring an antique, building custom furniture, or experimenting with smaller woodworking projects, understanding wood dyes add a whole new world of finishing possibilities and combined with stains help us to match existing colorations.
What Are Wood Dyes?
Wood dyes are colorants dissolved in a liquid base, most commonly water, alcohol, or oil. Because the color molecules are extremely small, they soak into the wood rather than sitting on top. This allows for a more uniform, translucent finish that highlights the wood’s natural patterns.
- Water-Based Dyes – Easy to use, non-toxic, and offer a wide range of vibrant colors. They can raise the grain slightly, so light sanding after application is often recommended.
- Alcohol-Based Dyes – Dry quickly, making them great for layering and blending colors. However, because of their fast drying time, they require a bit of practice to apply evenly.
- Oil-Based Dyes – Penetrate deeply and offer excellent color stability. They’re slower to dry, which makes them easier to control but also lengthens finishing time.
Why Choose Dye Over Stain?
While traditional stains can be great for achieving certain looks, dyes offer unique advantages:
- Clarity – Dyes enhance the wood grain instead of muddying it.
- Vibrancy – They create bold, rich colors that are difficult to achieve with stains.
- Blending Options – Dyes can be mixed to create custom shades.
- Restoration Uses – Perfect for reviving faded furniture or evening out mismatched tones in old wood.
How to Apply Wood Dye
Applying dye is straightforward but benefits from a bit of preparation:
- Prepare the Wood – Sand the surface smoothly, working up to a fine grit (220 or higher). The smoother the surface, the more evenly the dye will absorb.
- Test First – Always try the dye on a scrap piece of the same wood or an inconspicuous area. Wood species absorb dye differently.
- Apply the Dye – Use a clean cloth, sponge, or brush. Work in even strokes and keep a wet edge to avoid lap marks.
- Control Intensity – For deeper color, apply additional coats. For lighter tones, dilute the dye with its solvent (water, alcohol, or oil, depending on type).
- Seal the Finish – Dyes alone don’t protect wood. Once dry, apply a topcoat such as shellac, polyurethane, lacquer, or oil for durability and sheen.
Tips We Use for Success
- Layering – You can apply one dye color, sand lightly, and add another to create depth.
- Sunlight Resistance – Some dyes fade in direct sunlight. Choose UV-resistant formulas if the piece will sit in bright areas.
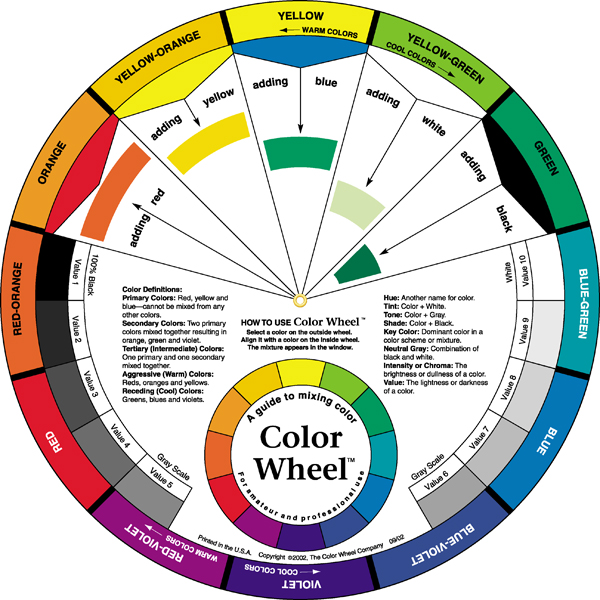
- Mixing Colors – Dyes are very forgiving for experimentation—much like mixing watercolor paints.
Final Thoughts
Wood dyes are an excellent tool for woodworkers who want to enhance, rather than hide, the natural beauty of their projects. With a little practice, you can achieve finishes that are rich, luminous, and completely unique. Whether you want subtle warmth or bold, eye-catching tones, dyes let us bring out the best in your wood.