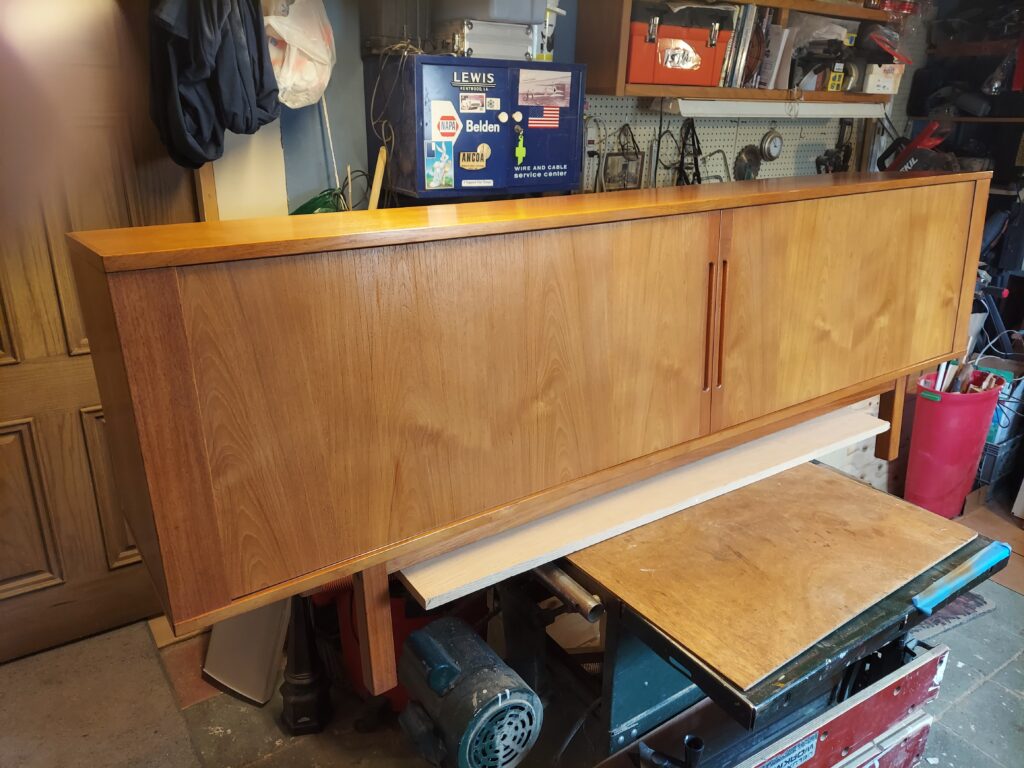
When it comes to woodworking, the beauty of a project often comes down to the finish. A good finish doesn’t just protect your wood—it highlights its natural beauty and makes our craftsmanship shine. We never make the mistake of rushing these techniques that separate a “decent” project from a stunning one. Here are five wood finishing secrets that can take our work to the next level.
1. Sanding is More Important Than the Finish Itself
The biggest secret isn’t in the can—it’s in the prep work. Many beginners think stain or varnish will hide flaws, but the opposite is true: finish magnifies imperfections. We start with a Proper Surface Cleaning and then Sanding through the grits (usually 120, 150, 180, and finishing at 220) ensuring a smooth surface. We sand with the grain to avoid scratches, and don’t skip grits—it makes a huge difference in how evenly my finish absorbs.
2. Raise the Grain Before Staining
As a professionals I like to “raise the grain” intentionally before applying a dye or stain. Normally this is achieved by wiping the sanded surface with a damp cloth, let it dry, and lightly sand again with 220 grit. This prevents the finish from feeling fuzzy and ensures a silky-smooth touch.
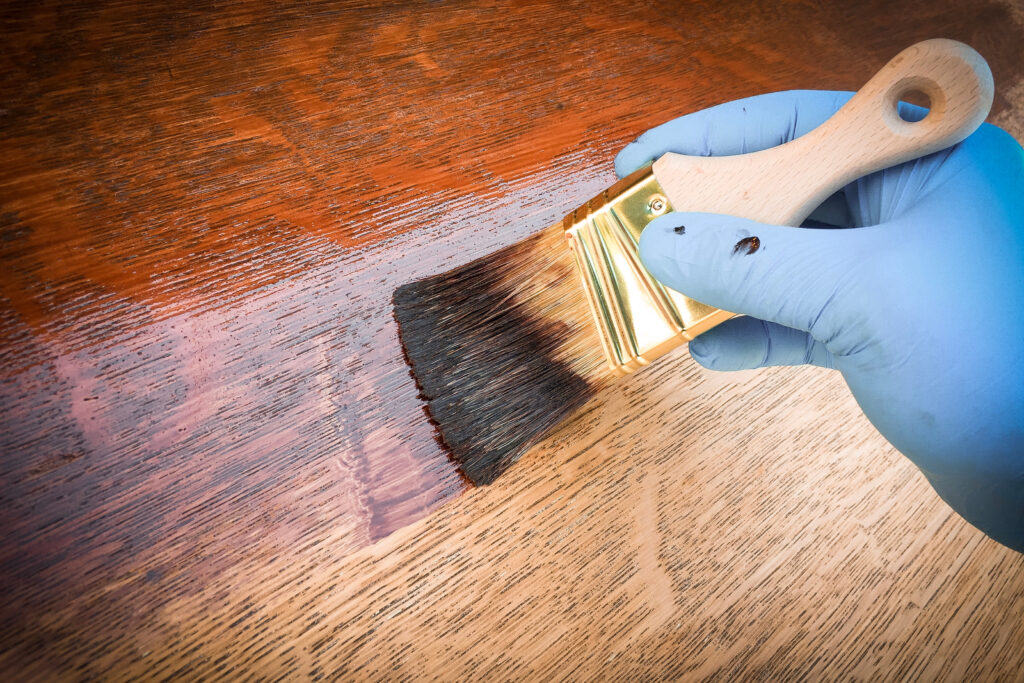
3. Don’t Overload The Brush or Rag or Spray Application
Whether applying stain, oil, or polyurethane, beginners often dip too deep, overloading the applicator or spray on a too heavy coat of finish. This leads to drips, blotches, and uneven coats. The trick we use is to apply thin, even layers. It’s better to build up several light coats than to rush with one thick one. Thin coats dry faster, look smoother, and are less likely to peel or bubble over time.
4. Sand Between Coats (Lightly!)
Many folks skip this step, but sanding lightly between coats with a fine grit (320–400) sandpaper or synthetic pad removes dust nibs and tiny imperfections. It also helps each layer bond better to the one beneath it. Sanding between coats is not always necessary with lacquer but we take the extra step always being careful not to sand through the finish or color. Wipe off the dust with a tack cloth before applying the next coat.
5. Let the Finish Cure, Not Just Dry
A finish may feel dry to the touch in hours, but curing takes much longer. Oils and varnishes can take days—or even weeks—to fully harden. If you stack, wrap, or handle your project too soon, fingerprints, impressions, or stuck surfaces can ruin your hard work. Patience pays off: always check the manufacturer’s cure times, and give your piece the time it deserves. We normally use commercial finishes that dry fairly quickly and are durable.
A Final Thought…
Finishing can be a stressful and terrifying experience for many woodworkers, but it doesn’t have to be.
By following these simple tips we will always know where the finish process is at all times. This is how we save much money and time on re-dos, and most importantly, building confidence and professional results. It has taken me years of trial and error to build this simple step process that saves me a lot of frustration and achieving lasting, beautiful finishes and repairs.